Build Your App
📮 The final build app will be sent to your email a few hours after submitting the build (normally 4-5 hours)
After customize the Design and configure the Features of your App. Now let's build the app.
1. Preconditions
- Not use special characters or space in the files name (of icon file, provisioning, certificate). They should be in English.
- [Problem Internal Link]the
env.dartand config json files (to save the config files if needed) - To build a multi-languages app, please do more configurations at "5. Multi Languages" below.
2. Build Android app
On the left menu, select Build, then follow the steps below:
Select
Android APKorAndroid App BundleUpdate your
Bundle IDand clickUPDATE. Your Bundle ID must not include reserved keywords.Check the
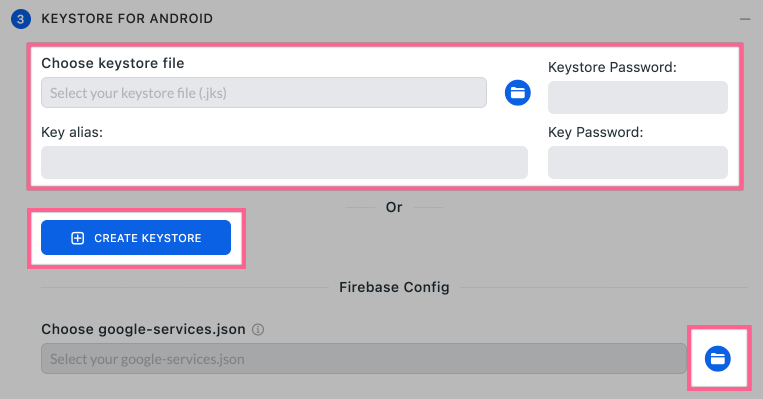
Use OneSignalcheckbox if you would like to push notifications via OneSignal.Input Google services file and Key Store's information:
💠 Input your
Keystore's information if you already had them.
If you do not have a keystore, click `CREATE KEYSTORE` button to create it automatically:
1. input a string to the `key password` and `store password` textboxes _(they must be the same, at least 6 characters)_
2. select `CREATE` button.
💠 Input your Google services file: click the **folder** icon, refer to your `google-services.json` file _(search "2. Android" in_ [_this guide_](/feature-firebase-setting) _to download your_ _`google-services.json`__)_
Input app information as below:
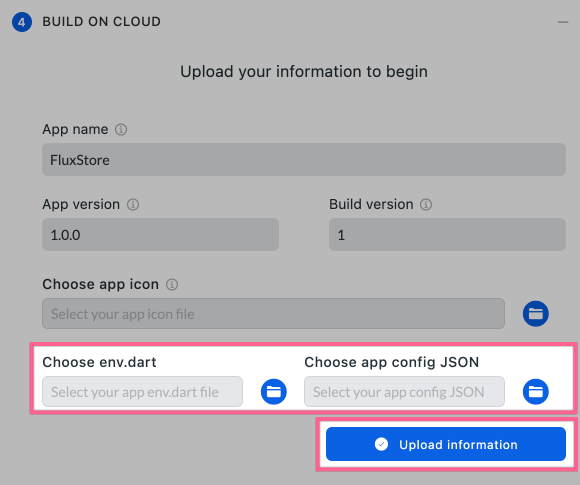
- Input your App Name (at least 2 characters)
- App Icon (Do not use special characters or space in the file name . They should be in English.)
- App version (format of x.x.x)
- Build version (greater than 1)
- Update the
env.dartandconfig_en.jsonfiles after [Problem Internal Link] them. (to build your app with all configurated Design and Features that you have edited with AppBuilder) - Select
Upload informationbutton (to save all your configuration) - Then click
Submit Buildbutton. The result and APK, AAB files will be sent to your email after 15-30 minutes.
Finish!
3. Build iOS app
On the left menu, select Build then follow the steps below:
Select
iOS IPAUpdate your
Bundle IDand clickUPDATEbutton ([Problem Internal Link].Check the
Use OneSignalcheckbox if you would like to push notifications via OneSignal.Input information of Apple Store Connect, Certificate, Provisioning, Google service files as below:

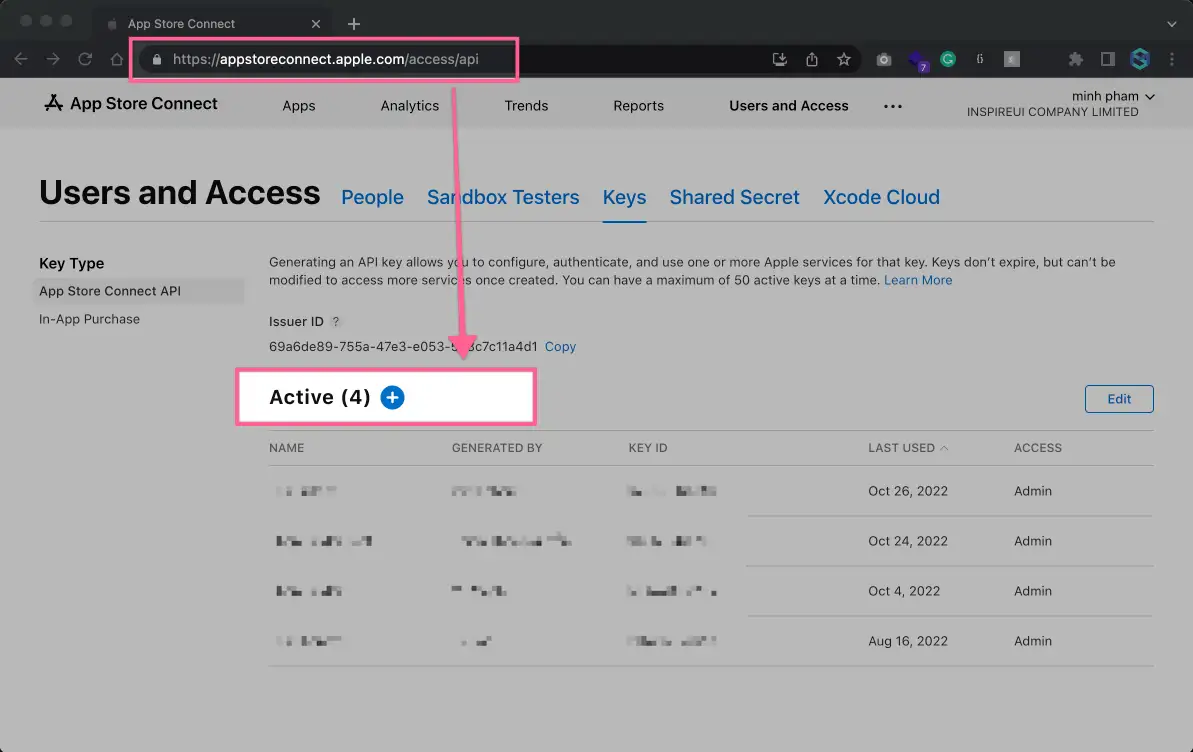
💠 Input information of **Admin Role** `Apple Store Connect API Private key` _(file will have an extension_ _`.p8`__)._ Make sure to login by using the Owner of the App Store Account to create the key, see [Creating API Keys for App Store Connect API](https://developer.apple.com/documentation/appstoreconnectapi/creating_api_keys_for_app_store_connect_api) or [go here to create it](https://appstoreconnect.apple.com/access/api).
💠 Input your **certificate file** `.p12` and its **password**. (_Distribution_ or _iOS Distribution_ permissions)
If you do not have it, select `Automatically` button to create a new one.
💠 Input your **Provisioning file** or click `Create provisioning` button to create it automatically.
Make sure to select `Re-create if exists` to delete the old provisioning file.
💠 Input the `GoogleService-Info.plist` file by selecting the **folder icon** _(search "1. iOS" in_ [_this guide_](/feature-firebase-setting) _to download your GoogleService-Info.plist file)_
> If getting an issue when creating a certificate, because it already **exceeded the number of certificates** with Distribution and iOS Distribution permissions, please go to [Apple Developer](https://developer.apple.com/) to **Revoke** one as these steps:
> 1. Login with your account
> 2. Click **Account** > **Certificates** (or go to [this link](https://developer.apple.com/account/resources/certificates/list)).
> 3. Select an old **Distribution** or **iOS Distribution** certificate
> 4. Select **Revoke** - now you can continue to click **Automatically** on builder to create a new certificate.
Input the information of your app as below:

- Input your App Name (at least 2 characters)
- App Icon (Do not use special characters or space in the file name . They should be in English)
💠 App version (format of x.x.x): If your App version is already published on App Store. Please increase the App version to a higher number in order to upload the new build to Test Flight. 💠 Remember to update the Build version by increasing this number of build versions whenever you build.
ĐỔI ẢNH INCREASING THIS NUMBER ABOVE
- Update the
env.dartandconfig_en.jsonfiles after [Problem Internal Link] them. (to build your app with all configurated Design and Features that you have edited with AppBuilder) - Select
Upload informationbutton (to save all your configuration) - Then click
Submit Buildbutton. If building the IPA file successfully, it will be uploaded to TestFlight. The result will be sent to your email after 1-2 hours (then wait 30 minutes for TestFlight approval).
ĐỔI ẢNH TESTFLIGHT APPROVAL above
Finish!
4. View your iOS app
After receiving the email that notifies you have built the iOS app successfully, follow the steps below to test your iOS app on your smartphone:
Go to App Store Connect, then sign in with your Apple ID.
Select
My Apps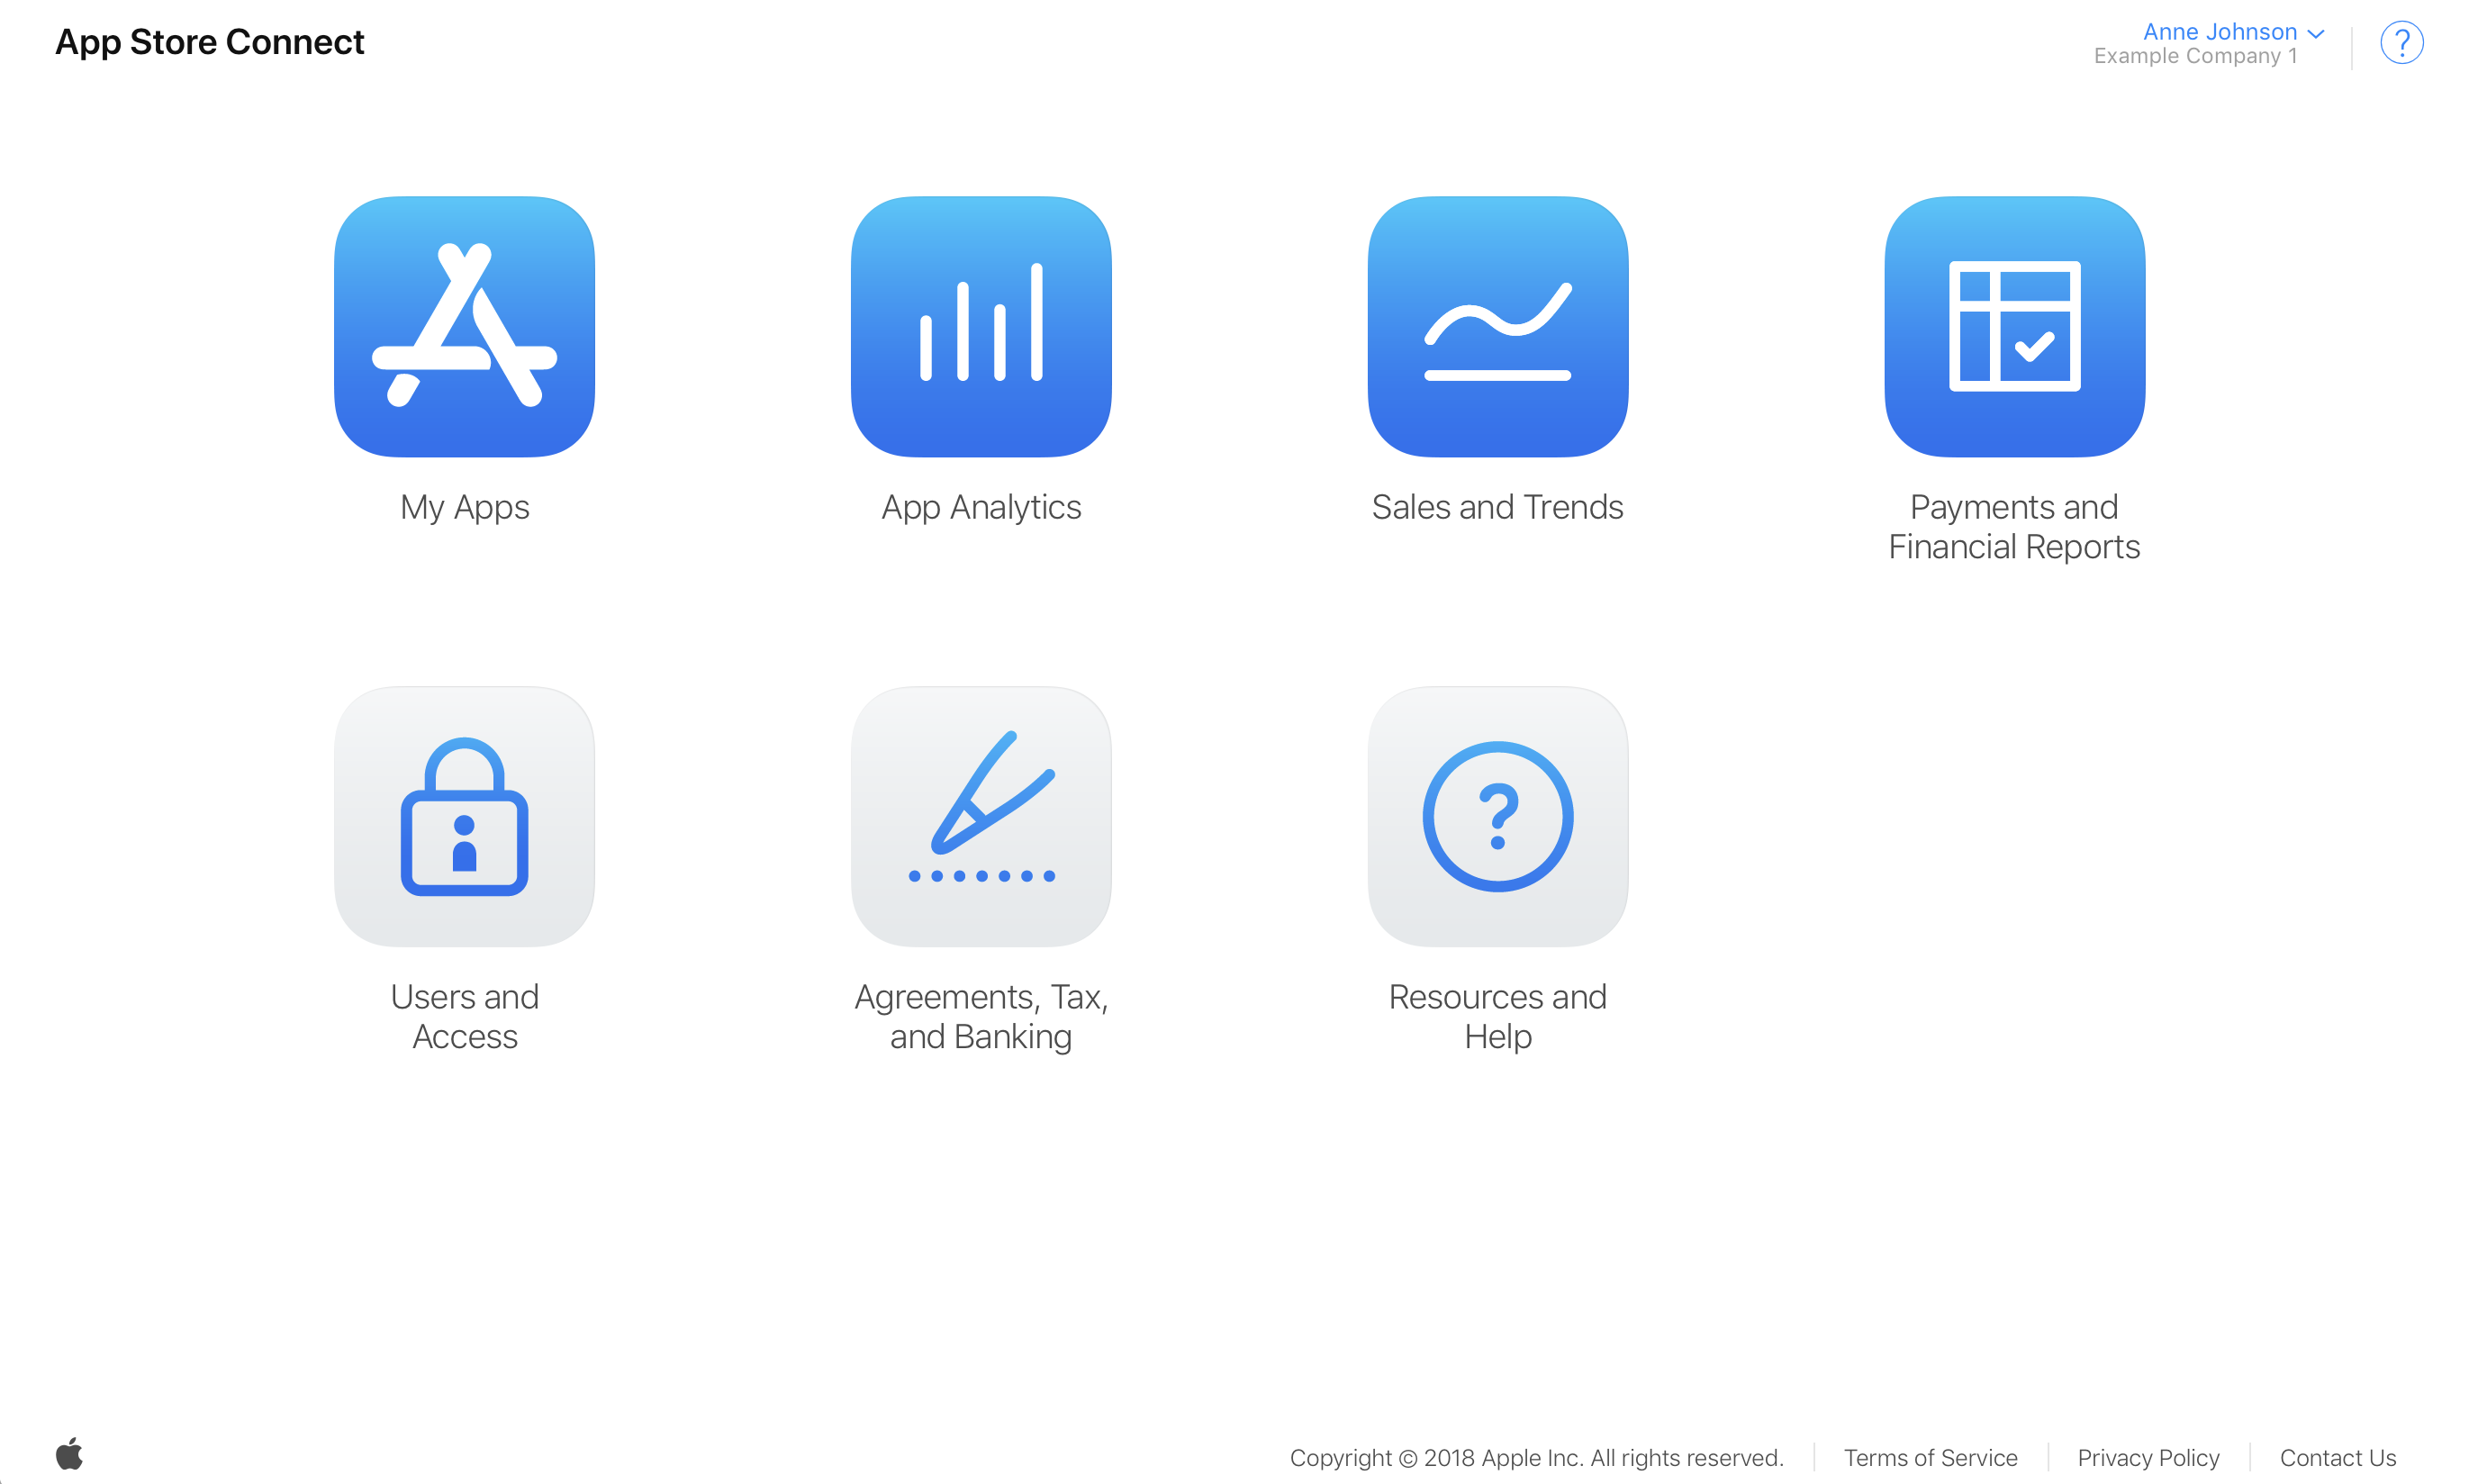
Select your app, then choose
TestFlight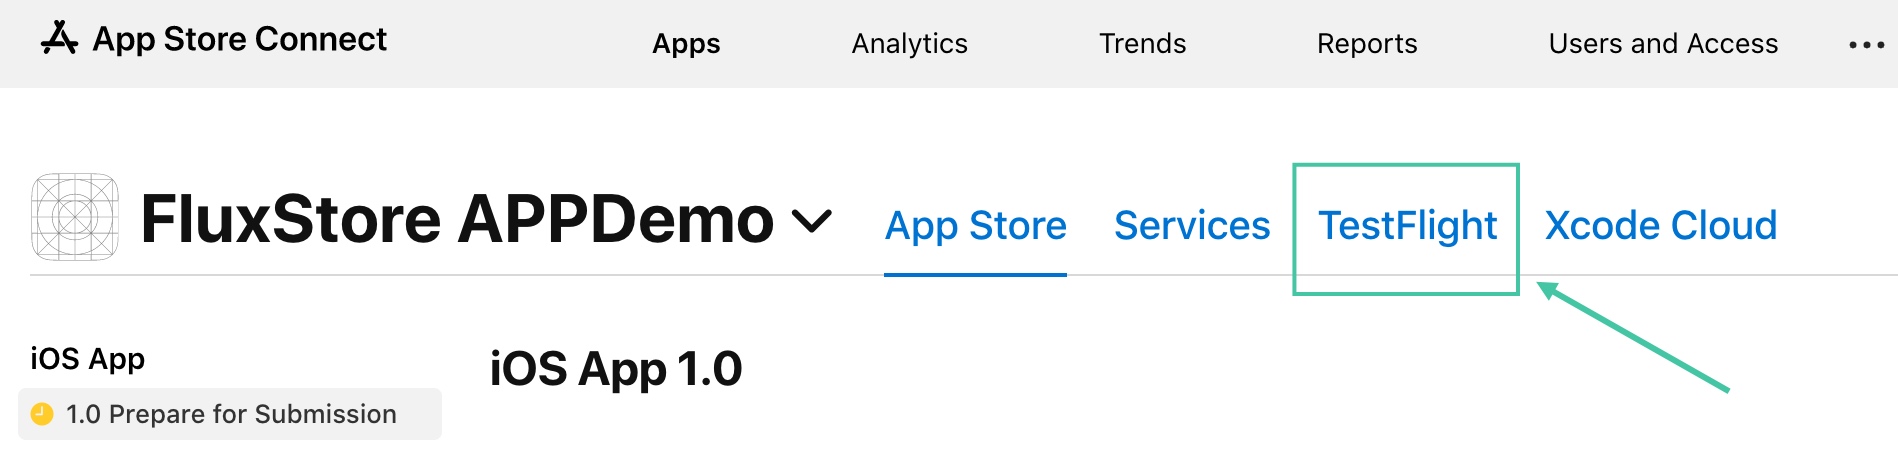
Now you can check the App Version and the Build Version to view the correct one have built:
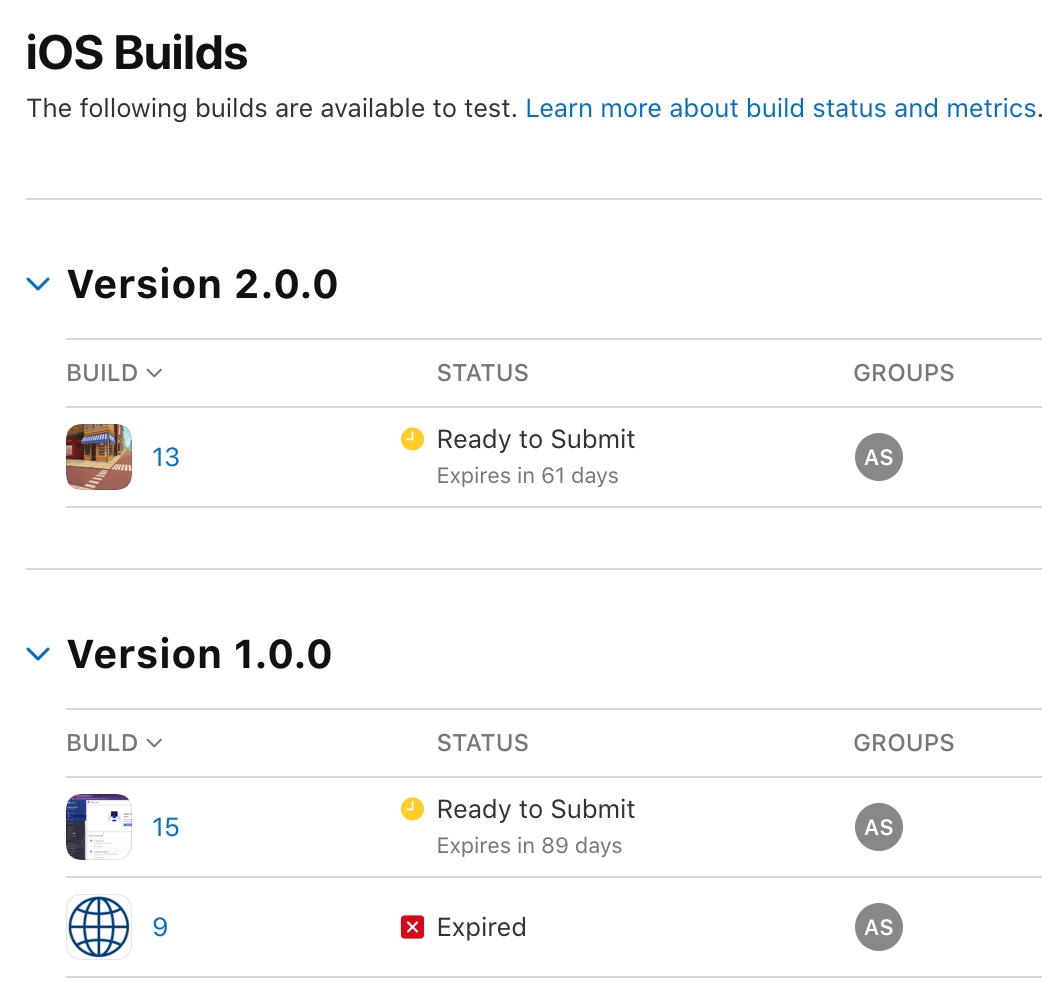
Open TestFlight on your iOS smartphone to test the app. Enjoy!
5. Multi Languages
If using this Build On Cloud feature, you can use multiple languages. Before building your app on Cloud, please follow one of both guides below:
- Cloud Server
- 2️⃣ Firebase