Smart Chat (ChatGPT)
To keep the app up to date with the development of OpenAI, ChatGPT has been integrated and added in Smart Chat feature of the app. Please follow the steps below:
Set Up Supabase Server
1.1 Create and Setup Project on Supabase
Go to Supabase to create or log in to your account and create a new project.
Please download the latest version of the
Supabase CLI.Generate access token and log in to CLI.
Navigate to https://app.supabase.io/account/tokens
Click "Generate New Token"

Copy the newly created token
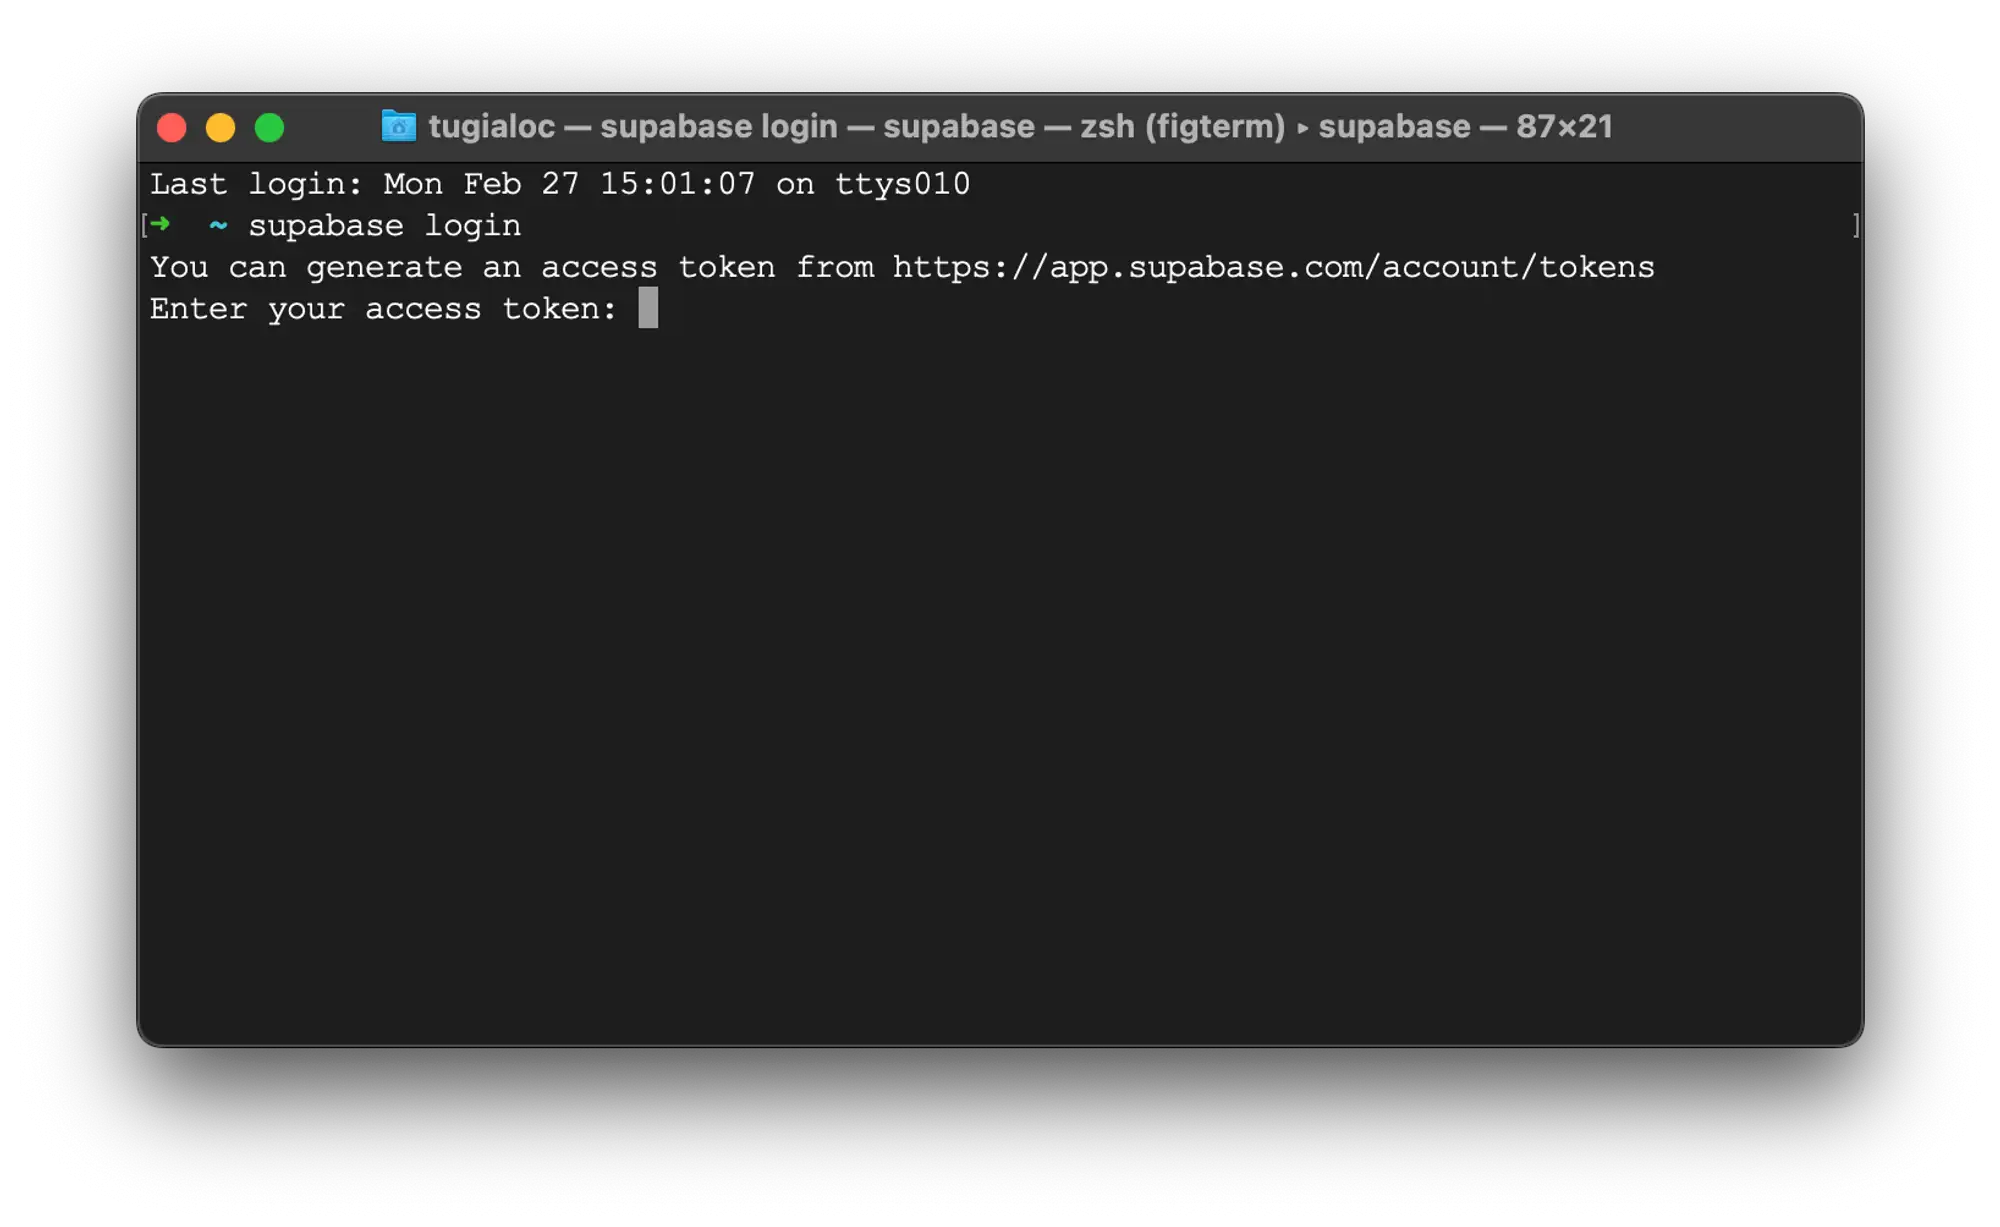
Open
Terminalrunsupabase loginInput your token when prompting
Link your project:
Go to project setting on Supabase to get Reference ID.
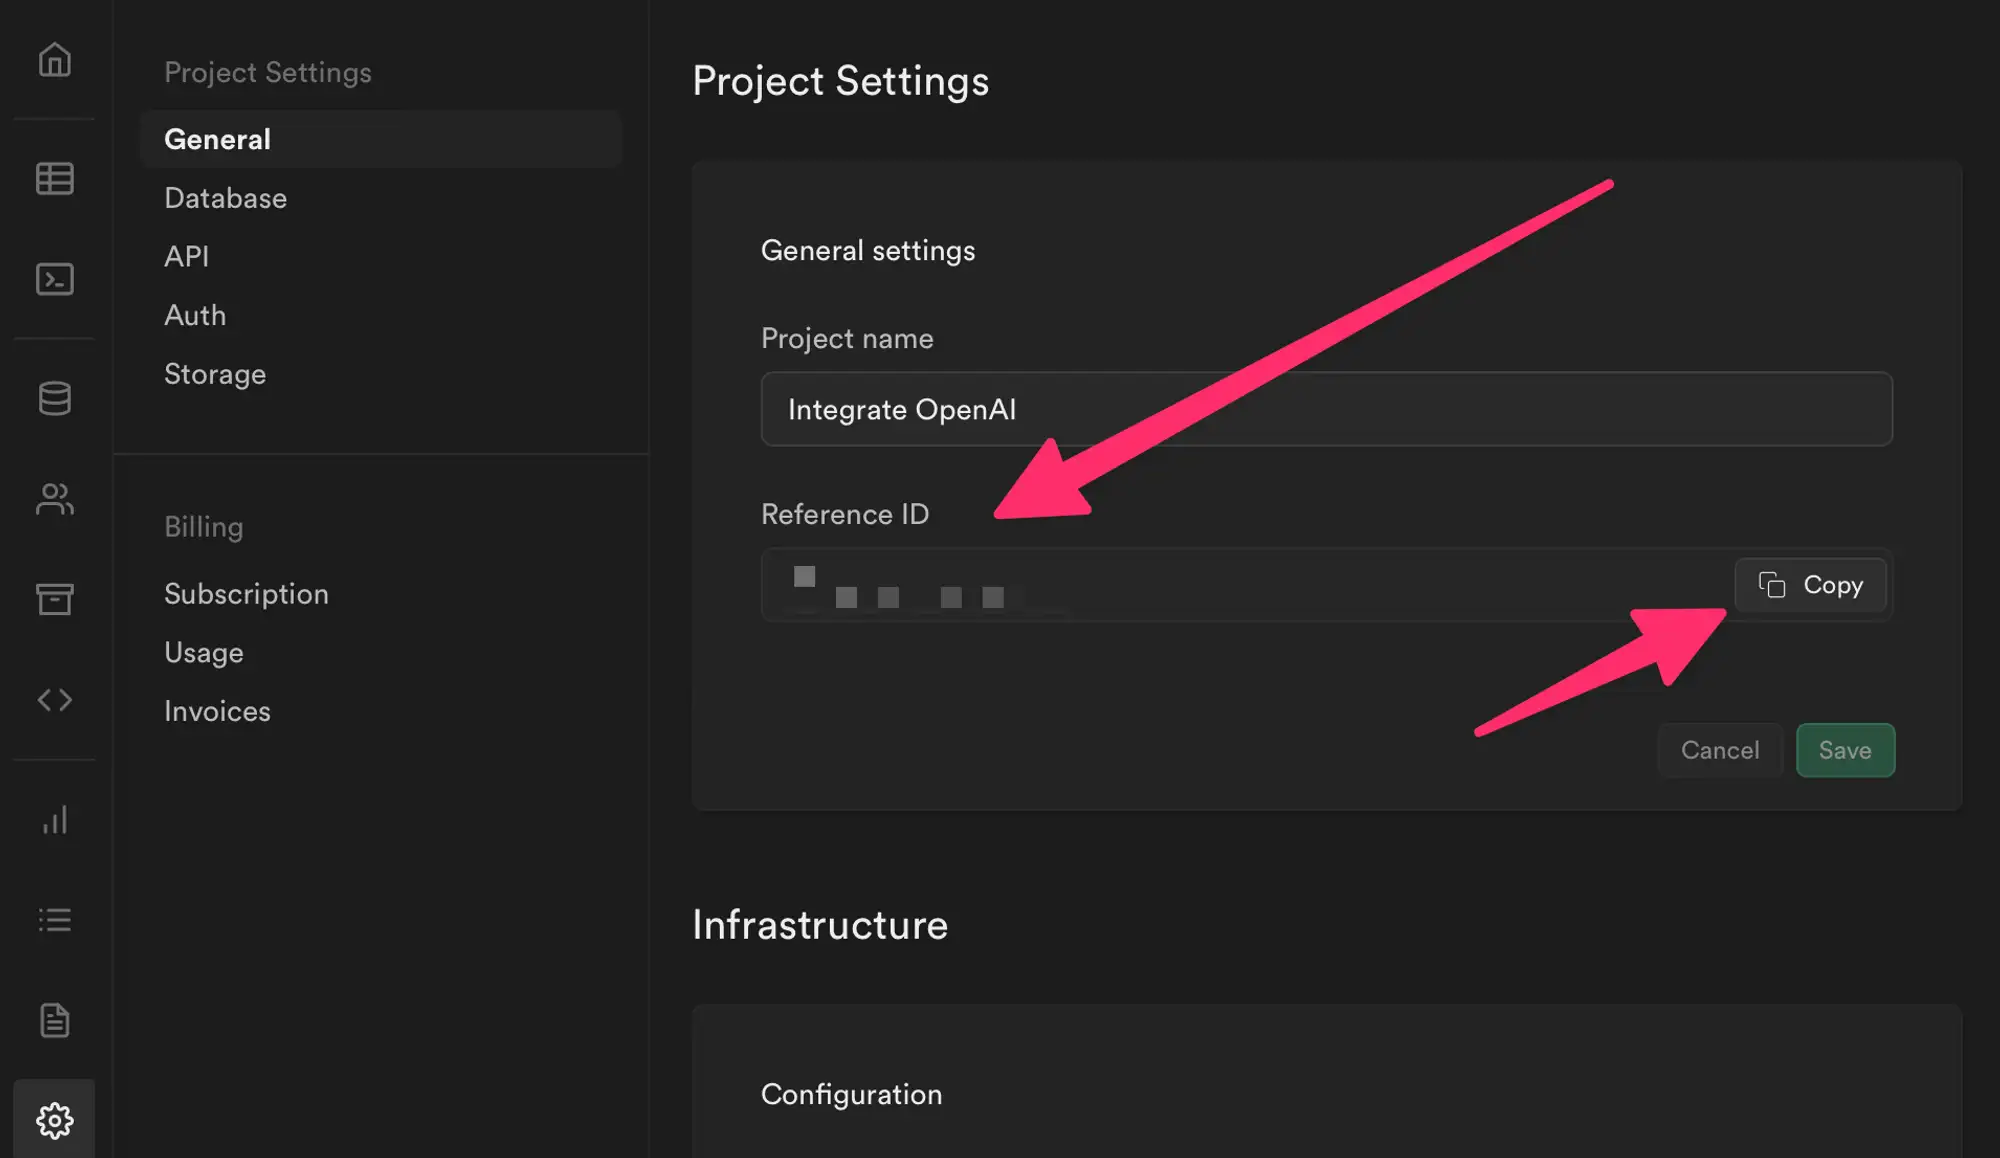
Open Terminal, and run the command
supabase link --project-ref [REFERENCE_ID]. For example:supabase link --project-ref fasdf12312.
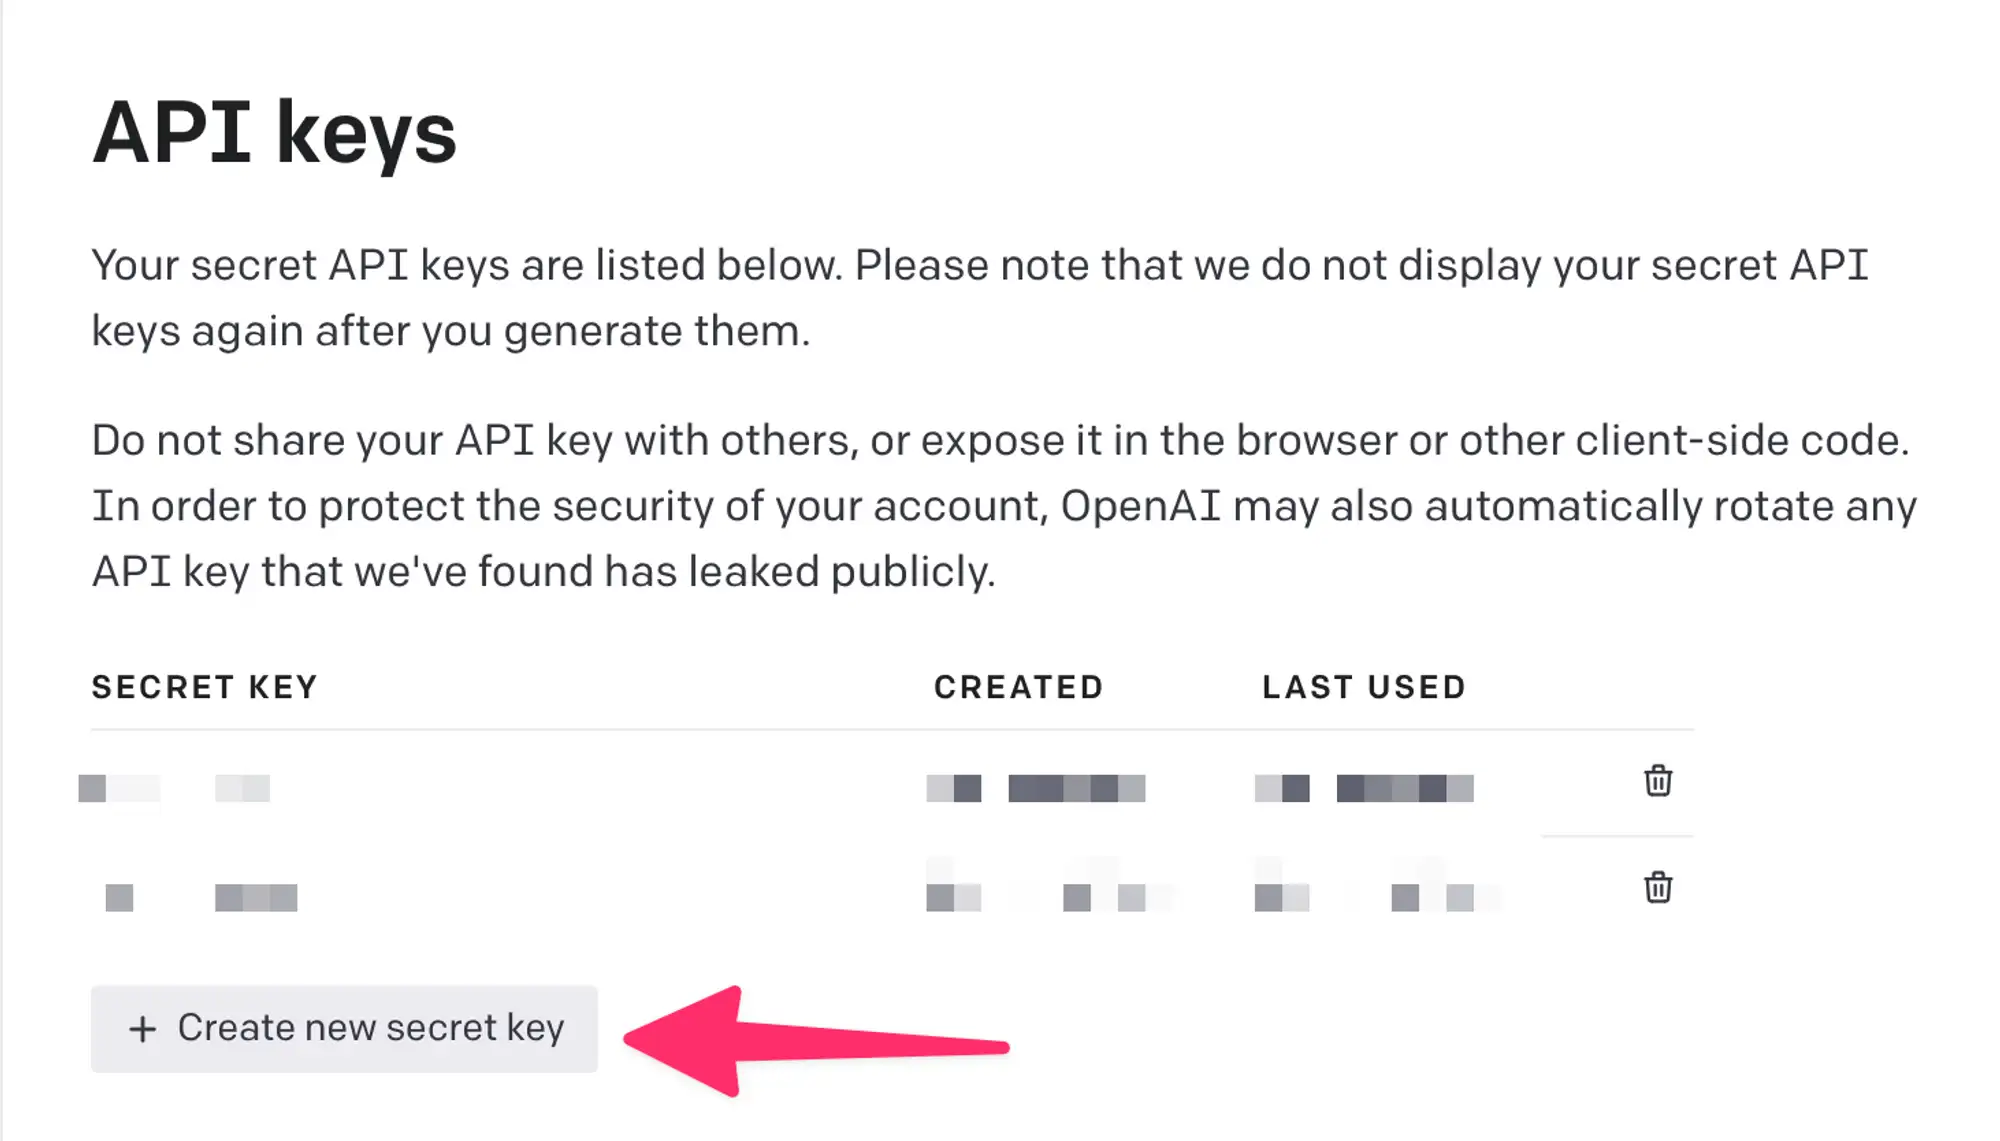
1.2 Generate OpenAI Key
Go to https://platform.openai.com/login/ and login to your account.
Go to https://platform.openai.com/account/api-keys to generate API Key.
1.3 Deploy
- Open
supabasefolder attached in the project folder by Visual Studio Code. You can find the resource atapps/openai_app/resource/. - Open Terminal in Visual Studio Code and run command
supabase secrets set OPENAI_API_KEY=[IN-PUT-YOUR-OPENAI-API-KEY-HERE]. - Within your project root run
supabase functions deploy completionto deploy the module Chat and Text Generation (ver 1). - Run
supabase functions deploy chatto deploy the module Chat and Text Generation (ver 2 - coming soon). - Run
supabase functions deploy image-generateto deploy the module Image Generation.
:::💬
Please contact us to get the folder.
:::
Add ChatGPT to Your App
- Open your app on the Builder tool
- Go to Features → open General → ChatGPT
- Input the Supabase URL and Supabase Anon Key → turn on Enable Chat → click Apply
- Go to Features → open Branding → Smart Chat
- Enable Smart Chat and click Add New Chat Options..
- In App, select ChatGPT → add Label and Icon Image → click ADD
- Click Apply and Save